Wednesday, January 12, 2011

Snowmageddon Day Two


Greetings from the ice rink which is still Atlanta.  I'm happy to report that both Henry and I remain alive, having not yet killed each other after two days trapped in the house together.  (Notice I say "not yet.")  We've had a few skirmishes (inevitable) but we're hanging in fairly well.  Of course, all bets are off  if we lose power (due to the ice weighing down the thousands of trees in our neighborhood).  Prayers that it doesn't happen would be appreciated!

It's pretty amazing though, when the highlight of your day is a walk (slide, actually) halfway down the hill which is our street.

So if you are me, you will define a cooking project for yourself and head to the kitchen.  Calories be damned!

In perusing my recipe files (in lieu of a newspaper this morning; they can't get around the city to deliver them),
I came across recipes for sticky toffee pudding from two restaurants here in Atlanta:  4th and Swift and Holeman and Finch.  "Great," I thought, "I'll make both of them and decide which one is better."  A restaurant showdown, of sorts.


The good news is I have a fully stocked pantry.  Need chocolate?  I have tons of it.  Flour?  Sugar?  No problem.  I even have pitted dates.  Guess my survivalist instincts are serving me well right now.  I'm a little low on heavy cream, but there are plenty of eggs and a gallon of milk in my fridge.  Dessert anyone?  No problem ... even when smack in the middle of Snowmageddon.


Long story short, I embarked upon the Sticky Toffee Project.  Made both recipes and began to draw my conclusions.  Until......

Oh, hell.  I know way too much about the Atlanta restaurant scene.   I suddenly recalled that the pastry chef from Holeman and Finch (Chrysta Umberger) had migrated to 4th and Swift.  Obviously her recipe went with her.  Well, duh!  So much for my little restaurant war.

Nonetheless, the two recipes were slightly different.  The 4th and Swift version (recently voted by the local paper as one of the best dishes in the city) was straightforward and unpretentious.  The Holeman and Finch adaptation had a few more layers of flavor due to the addition of rum in the batter and rum, dark brown sugar and a handful of chocolate chips in the sauce. 

The winner?  Well.........  I liked the "cake" part from the Holeman and Finch recipe best, but I didn't care for the chocolate in the sauce.  As for the 4th and Swift variation, I liked the sauce better, but still thought it needed a little more punch.  I consulted with my son Andy, whose food instincts and palate I trust implicitly.

Here is our winning result.

STICKY TOFFEE PUDDING  (adapted from Chrysta Umberger)

For the cake:
8 oz. pitted, chopped dates
1 cup water
1 teaspoon baking soda
2 teaspoons pure vanilla extract
5 tablespoons unsalted butter, softened
3/4 cup granulated sugar
1 egg (I used extra-large)
1 tablespoon dark rum
2 cups all-purpose, unbleached flour
1 teaspoon baking powder
1/2 teaspoon salt

Preheat oven to 325-degrees.  Grease a 13 x 9 x 2-inch rectangular pan.  Line bottom with parchment paper and grease that as well.  Set aside.

Place dates and water in a small saucepan over medium-high heat.  Bring to a boil then remove from heat and stir in baking soda and vanilla extract.  Let cool for 15 - 20 minutes or until just lukewarm.

In electric mixer fitted with a paddle attachment, beat the butter until smooth.  Add sugar and beat until light and fluffy, scraping down sides of bowl several times.  Add the egg and rum and beat until just combined.  In another bowl, combine the flour, baking powder and salt.  Stir in the cooled date mixture and combine gently.  Add to butter mixture and beat on low speed until just combined.  Do not overbeat.

Pour batter into the prepared pan and bake until golden and sides pull slightly away from the pan, 20 - 25 minutes. 

For the sauce:
2 cups dark brown sugar, packed
8 tablespoons (1 stick) unsalted butter
2 cups heavy cream
1 tablespoon dark rum
1 teaspoon pure vanilla extract
Pinch of salt
Pinch of cayenne pepper (ground)

Place brown sugar, butter, cream and rum in a medium saucepan over medium-high heat.  Bring to a boil, then reduce heat to low and simmer for 5 minutes or until mixture thickens slightly and large bubbles appear.  Remove from heat and stir in vanilla extract, salt and cayenne.

To finish:
 Use a skewer or toothpick to poke holes all over top of cake.  Spoon 1/2 of the sauce over, allowing it to soak into cake.  Return cake to oven for 5 minutes or until sauce starts to bubble and cake is heated through.  Let cool briefly, then serve with remaining sauce and freshly whipped cream, if desired.

Serves 10 - 12


*  This is a wonderful ooey-gooey dessert, perfect for those times when you are stuck in the house for an extended period and have nothing better to do than stuff yourself repeatedly and watch your thighs expand by the minute.

*  Don't let the dates deter you from trying this recipe.  You won't even know they are in there.  When combined with the hot water and baking soda, they just dissolve into kind of a "mush" which gives the finished dish texture and a depth of flavor.

*  Looks like we are in for another 2 to 3 days of this ridiculous captivity.  I could be in big trouble......size 18X, here I come!

Tuesday, January 11, 2011

Big Woop


Atlanta is completely iced over as I write this.  I am not kidding.  It's like one huge skating rink around here.

I know you folks up in Massachusetts and Chicago are laughing at us, but it is what it is.  We got a big 'ol snowfall last night, followed by sleet and freezing rain today, so we ended up with a thick layer of ice atop a thick layer of snow.  Schools are closed, grocery stores are closed and even the airport is all but shut down.  Jacknifed tractor-trailer rigs have closed down the highways and abandoned cars are everywhere.  Driving anywhere is impossible.  Not that anyplace is open anyway.  This city is virtually shut down.

All of this makes for a great snow day (the kids on our street are proof of that) but here's the bad news ... temps aren't expected to get above freezing for ANOTHER 5 DAYS!  Oh dear.  Henry and I may kill each other by then if we are stuck in the house together for that long.  I'm not kidding about that, either!

The good news is that we were invited to dinner last night at our friends' house.  The better news is that they live next door, so no driving was necessary.   Whoopie!


Which brings me to my dessert contribution to that dinner.  Since our friends have two engaging little boys, (oh, the memories!) I wanted to bring something "kid-friendly."  Whoopie pies, anyone?


There is a lot of debate these days about whether whoopie pies have replaced cupcakes as the next trendy "thing."  Maybe, maybe not.  I just know a lot of folks seem to think so.  Even Nabisco jumped on the bandwagon with their "Oreo Cakesters."   (Do not accuse me of eating these.  I took this photo in the grocery store and I promise on the lives of my dogs that these things have NEVER graced my pantry shelves).

But here's the deal with Whoopie Pies.  THEY ARE FUN!!  You giggle when you eat them, kind of like when you go to Miller-Union here in Atlanta and treat yourself to one of their ice cream sandwiches (served at lunch only) which come in flavors like "butterscotch-marshmallow" or "cardamom pepper."  Happy food!

http://www.millerunion.com/

So when I decided to make whoopie pies, I turned to my new favorite baking gurus, Matt Lewis and Renato Poliafito of BAKED. Here is their version. I normally tinker with recipes, but not this one. It's absolutely perfect as written. The only thing they forgot to include were the giggles and laughter!


CHOCOLATE WHOOPIE PIES (from “Baked Explorations” by Matt Lewis and Renato Poliafito)

For the cookies:
3 ½ cups all-purpose, unbleached flour
¼ teaspoon kosher salt
1 ¼ teaspoons baking powder
1 ¼ teaspoons baking soda
¾ cup dark, unsweetened cocoa powder (like Valrhona)
2 teaspoons instant espresso powder
½ cup hot coffee
½ cup hot water
2 cups firmly packed light brown sugar
¾ cup canola oil
1 egg (I used extra-large)
1 teaspoon pure vanilla extract
½ cup buttermilk

Preheat oven to 350-degrees. Line two baking sheets with parchment paper.

In a large bowl, whisk together the flour, salt, baking powder and baking soda. Set aside.

In another large bowl, whisk together the cocoa and espresso powders. Add the hot coffee and water and stir until dissolved.

In a medium bowl, stir the brown sugar and oil together. Add this to the cocoa mixture and whisk until combined. Add the egg, vanilla and buttermilk. Whisk until smooth.

Use a rubber spatula to gently fold the dry ingredients into the wet ingredients, scraping down the sides and bottom of the bowl as you fold.  Use a small ice cream scoop with a release mechanism to drop heaping spoonfuls of the dough onto prepared baking sheets, about 2 inches apart. Bake for 10 – 12 minutes, until the cookies just start to crack on top. Do not overbake. Let cool slightly in the pan, then remove to a rack to cool completely.

For the filling:
5 egg whites (I used extra-large)
1 ½ cups granulated sugar
2 cups (4 sticks) unsalted butter, cut into ½-inch cubes, slightly softened, but still cool in middle
¼ teaspoon kosher salt
1 teaspoon pure vanilla extract

In a medium bowl, whisk the egg whites and sugar. Set the bowl over a pan of simmering water but do not let the water touch the bottom of the bowl. Heat the mixture until the sugar is completely dissolved and the color is milky white, about 3 minutes.

Transfer the egg mixture to the bowl of an electric mixer fitted with the whisk attachment and beat on medium-high speed until smooth and fluffy, about 5 minutes. Remove the whisk attachment and replace with the paddle attachment. Add the cubed butter, one cube at a time, and beat on medium-high speed until smooth and fluffy, about 5 minutes. Add the salt and vanilla and beat to combine.

To assemble:
Turn half of the cooled cookies upside down (flat side facing up).

Use an ice cream scoop or a tablespoon to drop a large dollop of filling onto the flat side of the cookies. Place another cookie, flat side down, on top of the filling. Press down slightly so that filling spreads to the edges of the cookie. Repeat until all of the cookies are used. Place the whoopie pies in the refrigerator for 30 minutes to firm up slightly before serving.

The whoopie pies will keep for up to 3 days on a parchment-lined baking sheet, covered with plastic wrap, in the refrigerator. Bring to room temperature before serving.

Yield: 29 cookies, enough for 14 pies with one cookie left for the cook


A couple of things.....

* The scoop I used was a 1.75 oz scoop which resulted in a 3 1/2-inch diameter cookie. A perfect size.

* I found it helpful to chill the dough briefly before scooping (about 15 minutes). Additionally, I put the unused dough back in the fridge while waiting to use it.

* When you scoop the dough, use a wet finger to smooth the edges so you end up with pretty rounds of baked cookies.

* Don't overbake. Remove them from the oven just as they start to crack on the top. I can't speak for your oven, but 11 minutes max was the sweet spot for mine. It's also good to rotate the pans halfway during the baking process.

*I was probably too cautious, but I only baked 6 at a time on one baking sheet. I put two pans in the oven at a time and just made sure I rotated them. It worked for me.

* More frosting is better, if you ask me.


Since I am a prisoner in my house this week, I have nothing to do but bake.  I will not be losing any weight over the next few days.

Wednesday, January 5, 2011

Happy New Year!

Have you started your diet yet? Resolved to work out more? Joined a gym? Made that list of New Year’s resolutions?

Not me. I already limit carbs during the week and I’ve belonged to the same gym for at least 20 years. Between spin classes, intricately choreographed step classes and our crazy 15-mile walks, I usually manage to get in a reasonable amount of exercise every week (of course, none of this seems to make me a skinny cook, but at least I try). I do have to say though, that I HATE it when all those newbies crowd the gym in January, taking up all the equipment and parking spaces. Oh well, they’ll be gone by March. Happens every year.

But about those New Year's resolutions.....

Do you remember my post about Peg Bracken and the HOOTENHOLLER CAKE?

http://nevertrustaskinnycook1.blogspot.com/2010/09/i-hate-to-cook-book.html

She wrote “The I Hate to Cook Book” back in 1960 and you can’t read the thing without falling to the floor, laughing hysterically. Well, it turns out she also wrote “The I Hate to Cook Almanack” in 1976. I know this because my mom found a copy of it at a tag sale recently and bought it for the whopping sum of $1. Thanks, Mom!


This book has a plethora of recipes with names like SHUTTEMUP COOKIES, STRAWBERRY NINCOMPOOP, RICH WITCH CAKE and GOOD PHONY DOUGHNUTS.  It also has a list of New Year's resolutions which include the following:

Not to open a new bottle of ketchup until the old one is used up

To read the newest news magazine instead of catching up with week-before-last’s first, which is like always eating rotten apples

To educate the kids out of the rollicking notion that just because something exists they have to have one of it

To organize the kitchen tool drawer and keep it organized

To refrain from removing the blender’s lid the minute you’re done blending something hot unless you are looking for an excuse to scrub the ceiling

To hit the next person who says, “What are we having for dinner?”

Now these are some achievable resolutions if you ask me.  Is there anyone out there who can’t relate to at least one of them? Peg was one “with-it” lady! Here is her list of “New Words for a New Year.”

Antipesto – Italian roach powder

Blandwich – hamburger without any onions

Caviar Emptor – it’s only some kind of fish eggs

Eatnik – health food buff who won’t touch it if it isn’t enriched with granular kelp and black-strap molasses

Piasko – what you’re involved in when the pastry comes apart

Scruffulous – how the house looks when it’s in good enough shape that you don’t feel like doing anything about it but not good enough that you’re dying to have anybody drop in

Swallup – the extra bonus of cake frosting left in the pan for somebody to lick

Stewp – any mixture thinner than stew and thicker than soup
(Aha! Caught you, Rachael Ray! You might refer to it as “stoup” but clearly you didn’t think of this concept first)

In honor of Peg Bracken, I am posting a recipe from her book. I chose the following because I loved the name, not because I thought it would be any good. I made it the other night, served it to Henry and almost fell out of my chair when I tasted it. It was really delicious and it is my new go-to, last-minute- need- to-rustle-something-up-in-a-hurry solution. You can make this even if you can’t cook. Just don’t tell anyone how easy it is.


THE EASIEST NONTHINKING DINNER THIS SIDE OF RAW (adapted from Peg Bracken's "The I Hate to Cook Almanack")

2 medium eggplants, unpeeled and cut into 1 1/2-inch chunks
1 28-oz. can diced tomatoes
2 teaspoons chopped fresh rosemary
Salt and freshly ground black pepper to taste
Red pepper flakes to taste (optional)
A crumble or two of good feta for garnish (if desired)

Cut the eggplant into 1 1/2-inch chunks.  Do not peel.  Place into a large skillet and pour tomatoes and their juice over. Stir in rosemary.  Bring to a boil over high heat, then reduce heat to a bare simmer and cook for 60 minutes, stirring occasionally, until eggplant is very tender and mixture becomes "stew-like."  (Haha, let's call it a stewp!)  Add salt, pepper and red pepper flakes (if using) and serve immediately, topped with some feta cheese if you like.

Serves 6


A couple of things:

I know it sounds weird to leave the eggplant unpeeled, but it actually gives the finished dish a better texture.  Besides, this way you don't have to go to the trouble of peeling anything.

No, I did not forget about adding oil to the pan.  The recipe doesn't call for it and guess what?  It doesn't need it.  I would not have believed that either, but trust me on this.

It's rare that I don't salt something during the cooking process, but resist the urge to to do that here, otherwise the eggplant will release too much liquid and you will have a watery dish. 

I think the feta is a really good addition so I would encourage you to include it.  Alternatively, you could add a bit of goat cheese. 

This dish is good eaten alone or as a side dish.  If you want to turn it into something heartier you could always brown up some lamb in the skillet before adding the eggplant and tomatoes.  Personally, however, I like it without the meat.

Oh, and forgive me.  It wasn't my intention to post a healthy recipe here, it's just the way it worked out.  No worries, sugar-laden treats will grace these pages again soon!

And here's to a happy and healthy New Year.  I appreciate all of you for following my blog and I hope 2011 is a good year for everyone!

Saturday, January 1, 2011

Far From the Madding Crowd


Yes, there is a reason why I haven’t posted anything recently.

 That’s because as I write this, I am in Florida, camped out at the Ritz Carlton in Key Biscayne, along with 21 other members of our family in the chilliest weather they have experienced here in 150 years.

Okay, I know they had it much worse on the Eastern seaboard. At least we weren’t stuck in an airport for 30 hours. I really can’t complain.

But of course, I will. Because this place feels like a cruise ship, what with families who have nothing to do and screaming, energetic kids everywhere. They can’t go outside and THE IN-HOUSE MOVIE SYSTEM ISN’T WORKING.

Please, get me out of here!!!!!!!!!

So, I made my escape. Rented a car and headed out to Miami Beach. Alone. Cruised through South Beach, then headed out further to appreciate those deco icons like the Fontainebleau and Eden Roc. I wish I had been old enough to appreciate the glamour of the 50's and the allure of Miami Beach back in the day.  Visions of Frank Sinatra and Dean Martin and The Godfather danced in my head as I drove north.

You might be wondering how on earth I am going to segue this into a recipe….

Backtrack to Christmas dinner. Since I am a Jew by choice, Christmas dinner is not exactly on my radar screen. Well, it used to be when my kids were little (before I converted) but now not so much. Of course, we still need to include my non-Jewish mother, so in a perfect world, I would make Christmas dinner.

Not this year, though. We were expecting snow and harsh weather here in the ATL so we had to re-think our usual pattern. Maybe we should do it on Christmas Eve so we could drive Mom home on Christmas Day before the snow and ice set in and before we needed to head out of our snowy, icy driveway at 0-dark thirty the next morning to board a plane for said family vacation.  I didn't really have a plan.

As it turned out, a good friend turned up on Christmas Eve and he had no plans for the night. We invited him to stay for dinner (along with my mom, who was spending the night here) and shared a lovely meal together.

Steaks on the grill (yeah, the grill is just outside my kitchen door so a little snow or rain never stops me from using it), sautéed wild mushrooms, baked potatoes and a lovely chocolate pot de crème. Not what you would necessarily cook for Christmas dinner, but exactly what we needed on a cold night in Atlanta, when all we wanted was the camaraderie of friendship and the warmth of simple, unpretentious food.


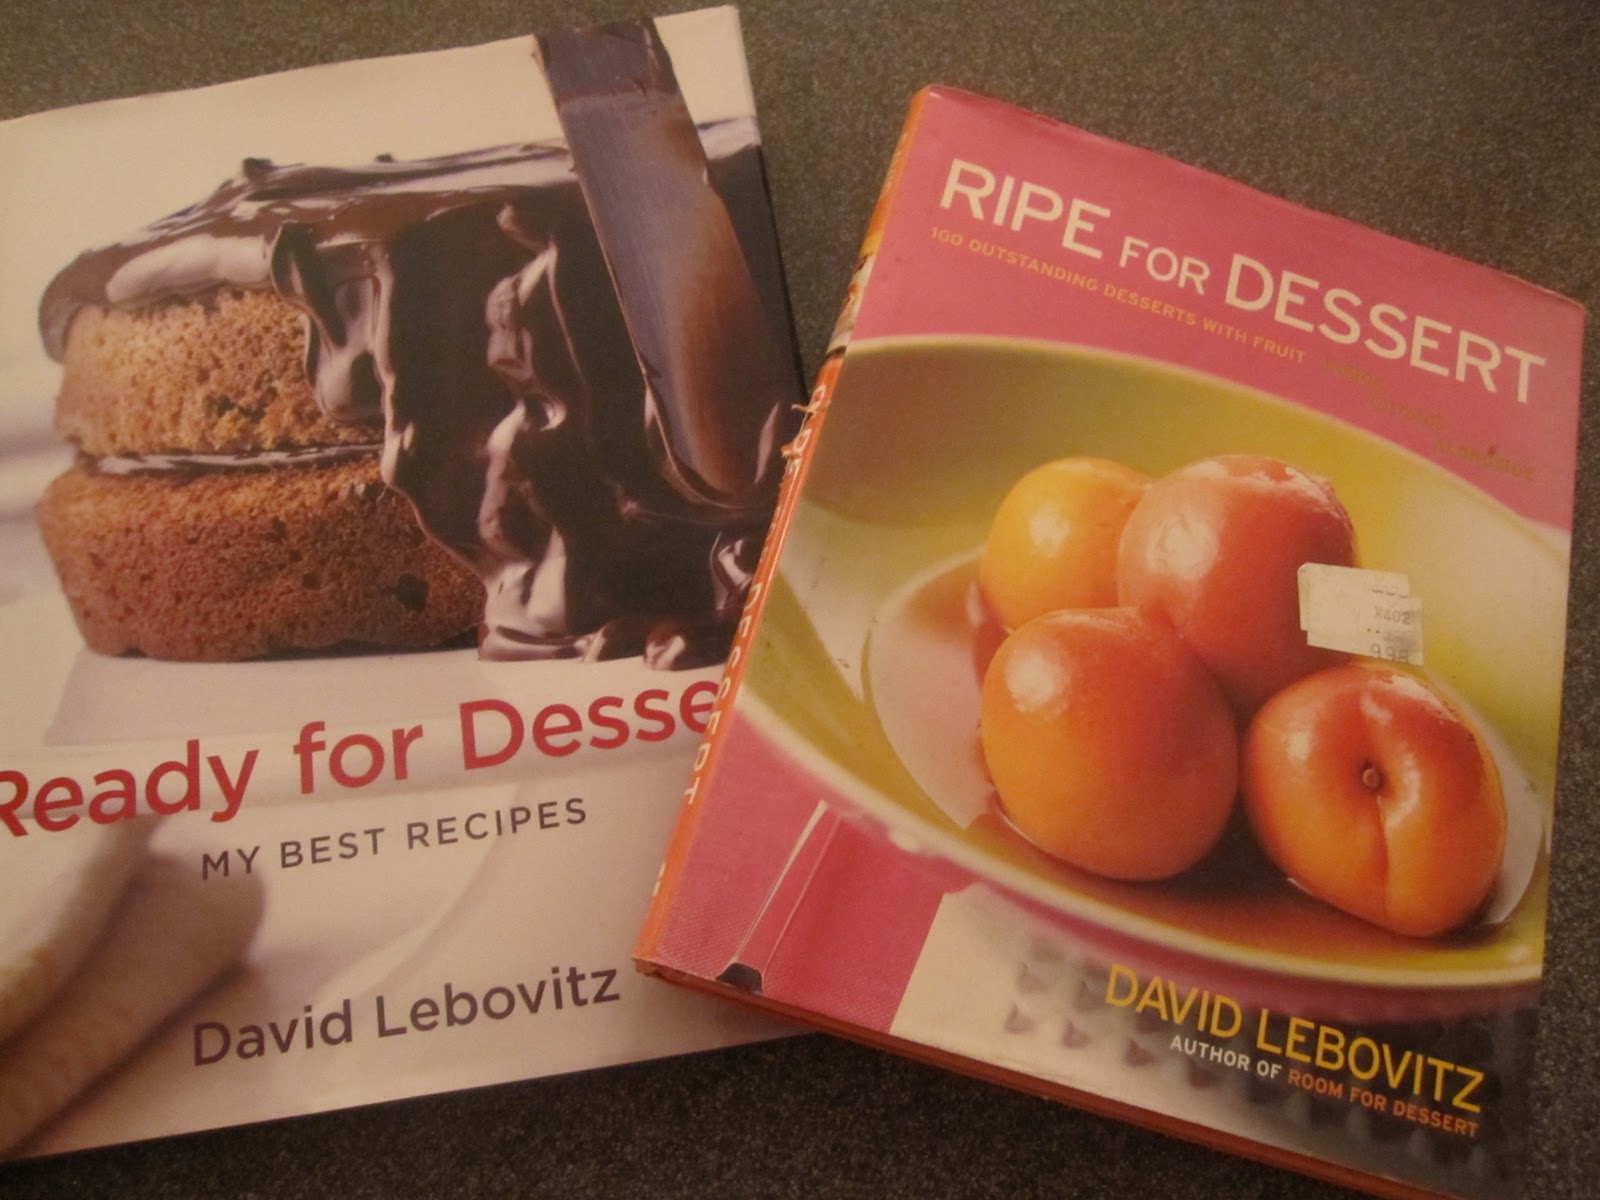
This recipe for Chocolate Pot de Crème comes from David Lebowitz. David honed his pastry chops at Chez Panisse and now lives in Paris. He is the author of several wonderful books, including the most recent Ready for Dessert. I met him years ago, when we were both cooking at a Meals on Wheels Event in NYC  (I was there cooking and prepping with Scott Peacock and the late, great Edna Lewis). I fell in love with Kip, who was David’s partner at the time and we stayed in touch. Sadly, Kip is no longer with us, but I will never forget him and I treasure his memory.


CHOCOLATE POT DE CRÈME (from David Lebovitz)

7 oz. bittersweet chocolate, chopped (60 - 70% cacao)
2 cups half-and-half
3 tablespoons granulated sugar
1 teaspoon espresso powder
1/4 teaspoon salt (I used Kosher)
6 egg yolks (I used extra-large)
1 teaspoon pure vanilla extract
Softly whipped cream for serving, if desired

Preheat oven to 350-degrees.

Put the chopped chocolate in a heatproof bowl.  In a medium saucepan, combine half-and-half, sugar, espresso powder and salt.  Heat until small bubbles appear and mixture is very hot, but not boiling.  Pour over the chopped chocolate and stir until smooth and chocolate is completely melted.  Cool for 30 minutes, then whisk in egg yolks and vanilla extract.

Using an ice cream scoop, divide mixture between 6 ramekins (mine measured 4-inches in diameter).  Place in a bain-marie (water bath) and cover pan with foil.  Bake for 30 to 35 minutes, until mixture is no longer liquid and wobbles slightly in center.

Serve with whipped cream, if desired.

Serves 6


You can make this ahead of time and store in the refrigerator for up to 3 days before baking.  This is best served at room temperature, before any refrigeration.  Nonetheless, you can bake and refrigerate it for up to 2 days if you have to.  It won't lose much in the translation, I promise.

If you want to learn more about David Lebovitz, here is the link to his blog:

http://www.davidlebovitz.com/

Annie and Tess, giving me guilt for indulging in dessert!

Hope you are surviving the holidays!

Thursday, December 23, 2010

Uh-Oh


Oh, the holidays. You think you have it covered, with gifts for all the folks who make your life work. The yard guys (bless them, especially because we don't own a lawn mower and even if we did, Henry wouldn't know how to use it), the wonderful folks who keep my hair straight and not gray, the lovely people who own the dry cleaning establishment where Henry drops his shirts off every week and the staff at the local bank who knows me by name and always greets me with big smiles.

I can’t say “thank you” with cash. It wouldn’t be appropriate and besides, I don’t have any extra anyway. Who does? So instead I cook and bake. This year’s offerings include both English Toffee and Honey Pecan Bars (recipes previously posted, here are the links):

http://nevertrustaskinnycook1.blogspot.com/2009/12/christmas-trees-and-hannukah-candles.html

http://nevertrustaskinnycook1.blogspot.com/2010/09/will-bake-for-eggs.html

And it’s all good and you make enough to cover the folks on your list and then……..oh no! You forgot someone (or two or three) and you’ve blown through all of your toffee and pecan bars. Well, crap.


Here is the quick fix answer: Salted Cashew Brittle. I’ve had this recipe in my arsenal for years. It’s ridiculously easy and I’m almost sorry to post it because you will certainly start to doubt my food integrity as this involves the use of a microwave.

Okay, yes, I do have one. A microwave that is. Serious restaurateurs would undoubtedly look askance at that, but there you are. It comes in handy for melting chocolate, reheating my coffee in the morning when I don’t finish it quickly enough and softening up the dog food (because that snaggle-toothed dog of mine can’t eat dry food).

So Tuesday night I dragged out my recipe for the cashew brittle, nuked up a batch and patted myself on the back for my ability to come up with something fast and easy to the rescue. I set it out to cool, broke it into big pieces and packaged it up. Mission accomplished.

SALTED CASHEW BRITTLE

2 cups roasted, salted cashew halves (1 - 9.5 oz. can)
1 cup granulated sugar
½ cup light corn syrup
1 tablespoon unsalted butter
2 teaspoons pure vanilla extract
1 teaspoon baking soda

Line a baking sheet with parchment or waxed paper and grease well. Alternatively, you can line it with a silicone baking sheet (Silpat).

Combine cashews, sugar and corn syrup in a 2-quart glass bowl. Place in microwave and heat on high, uncovered, for 3 minutes. Stir, then heat for another 3 to 4 minutes until mixture is a very light golden brown.

Carefully remove bowl from the microwave (I suggest using a good pair of oven mitts for this) and stir in butter and vanilla extract. Return to microwave and cook on high heat for another 2 to 4 minutes until mixture becomes caramel-colored.

Remove from microwave and stir in the baking soda. Mixture will become light and foamy. Turn out onto prepared baking sheets. It will be fairly thick, so work quickly to spread it out with a spatula.

Let stand until completely cool, at least 30 minutes. Break into pieces. Brittle will keep up to one week stored in an airtight container.

Yield: enough to completely fill an 8 x 3-inch round tin (3#)

There are two things I would caution you about.  The first is to be very, very careful when handling this stuff as it (and the bowl) gets extremely hot.  As I said before, it's best to use heavy-duty oven mitts.  I would also recommend using one of those 2-quart Pyrex glass measuring cups with a handle (which I thought I had but couldn't find  - think it's buried in the garage amongst all of my old catering equipment). 

The other thing to bear in mind is the fact that not all microwaves are created equal.  Yours may be higher-powered than mine and so forth.  I would therefore recommend that after you add the butter and vanilla extract, check the mixture every 30 seconds or so.  You want it to become caramel-colored but you do not want to take it too far or you will have a big, burned up mess in your microwave. 


Dump it in and stir

After a 3-minute zap

After 6 minutes

Add baking soda


Let harden for 30 minutes

Wrap it up and you're good to go!

Here's the interesting part.  I made this on Tuesday night.  Wednesday morning I settled in with my cup of coffee and the weekly Dining Section of the New York Times.  Look what was on the front page!


http://www.nytimes.com/2010/12/22/dining/22curious.html?ref=dining

It's an article by Harold McGee about the efficiency of using a microwave to produce homemade candy!  There is even a recipe (similar to mine) for Microwave Nut Brittle.  Guess I was ahead of the curve and didn't even know it!